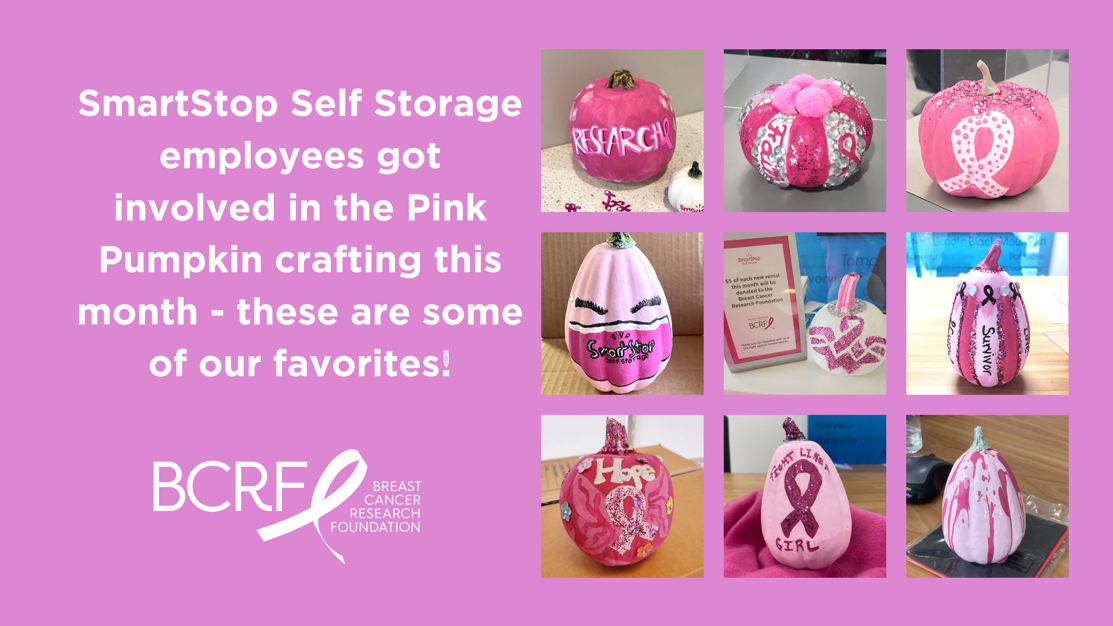
You’re probably used to seeing pumpkins in October, but with a few supplies and a bit of DIY craftiness, you can paint your very own gourds into cute pink-and-white decorations in honor of Breast Cancer Awareness Month, which takes place from October 1 to October 31. This year, SmartStop is sending out a number of pumpkin painting kits, complete with dark pink, light pink, and white paint, craft pumpkins that will last forever, and other essentials that will save you a trip to the art supplies shop.
But whether you receive a kit from us or not, the following guide will walk you through an easy step-by-step breakdown of how to paint a pumpkin of all shapes, sizes and colors, for painters and newbies alike.
In This Article:
1. Materials

- Pumpkins
- Paint
- Paint brushes
- Paint sponges
- Paint palette
- Cup of water
- Paper towels
- Craft supplies bags
- Newspaper or tissue paper
2. Getting Started
- Each person chooses a pumpkin - pick from various sizes so you get a good mix!
- Lay down the newspaper where you’ll be painting to avoid dropping paint or craft supplies anywhere.
- You can share paint, brushes, sponges and palette to design their pumpkins. You can mix paint colors to get a different color pink.
- Make sure you have water available to rinse brushes/sponges and paper towels to clean up any mess.
- Make sure to use words of encouragement, positive messages and find a unique way to integrate the pink ribbon!
- Place finished pumpkin near the front door to your office and grab another pic!
Share
Related Articles


